It’s Technical Tuesday! This is a rough one, and we hope people will reach out to us and give us additional advice which we will include here. Today we are talking about the costs involved in keeping things cold, and how to mitigate them.
We’ll start with the not very cold, and get colder. But first, this:
Chests, Uprights and Best Practices
Refrigerators (273 K / 4 C)
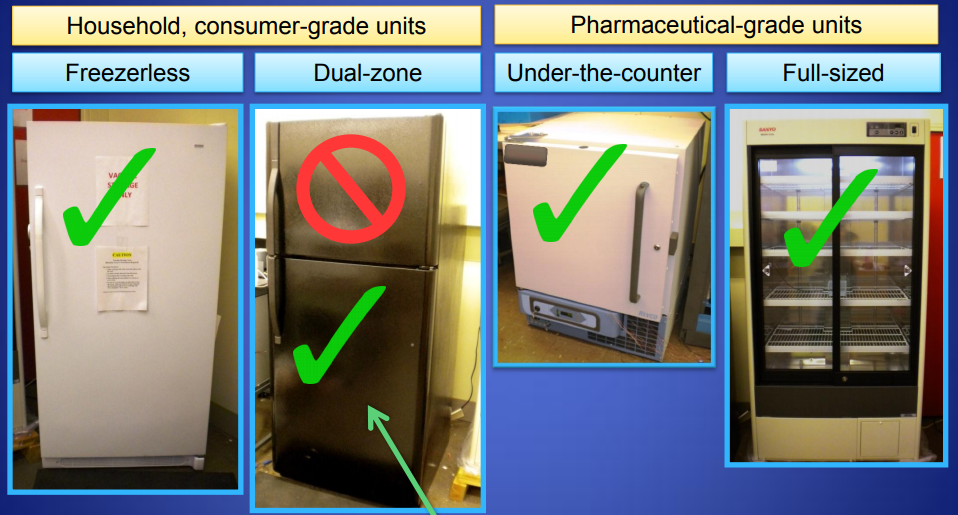
NIST has a nice powerpoint summarizing best practices for using refrigerators. Commercial refrigerators with no built in freezer are great and we love refrigerators with glass sliding doors, as they are easy to use and promote organization.. You’ll want to avoid small commercial refrigerators.
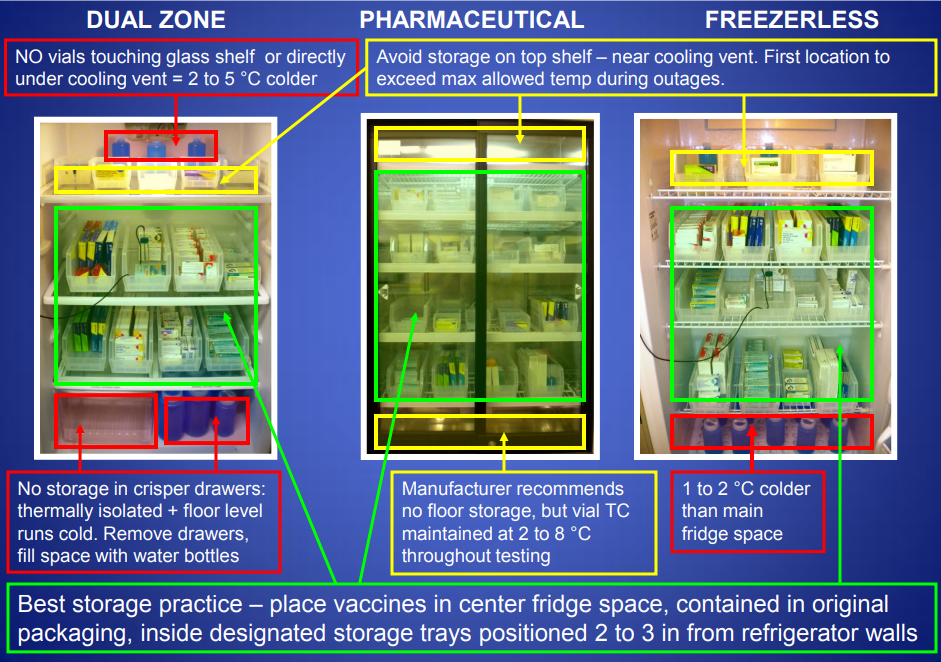
NIST also has suggestions on where you should be putting your chemicals in the fridge: you don’t want to put anything degradable on the top shelf. You can click on these pictures to make them bigger if you don’t want to download the NIST powerpoint.
You’ll need a temperature probe. Like the TIs SensorTag or the WirelessTag, which will both log data for you and can be set up to email you if temperatures drop, or you can opt for something that will just beep loudly when the temperature goes out of range. In my experience the beeper gets shut off by people in the lab who think the beeping is an annoyance.
If you want to pay less for electricity, consider retrofitting a freezer that has better insulation with a Johnson Freezer Temperature Controller. You can read about building a “chest” style fridge out of a freezer using such a temperature controller in this really cool tutorial.

Ice and Ice Makers
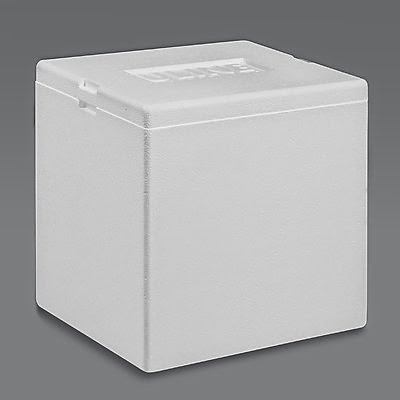
You want a Flake Ice Maker, which luckily is used in restaurants and hotels. I recommend the smallest Hishizaki brand ice maker you can find. When it comes to working with the ice, there’s no real reason to buy an ice bucket. Small Styrofoam boxes work great and are probably already abundant in your lab.
Freezers (253 K / -20 C)
Again, it’s perfectly fine to go commercial here and much cheaper. Again, get something to monitor the temperature, preferably something that sends out emails when the temperature falls too low as discussed in the refrigerator section.
Whether it’s an upright or a chest, get it commercially, and get racks for your freezer.
As a default, get a manual defrost freezer and be ready to empty it out every once in awhile. If you do get a auto defrost freezer, be careful and see if you can get one with cycles you can control.
Dry Ice
You can get dry ice for about $2 per kilogram. With reasonable insulation, expect to lose 2-3 kilograms every day. While dry ice is mostly used for shipping, if you want to keep just a few things at -80 C for just a couple weeks, it might not be worth the investment to get a -80 C. At $42 a week, you would probably be able to buy a year or two of dry ice before it started to match the cost of the cheapest -80 freezers. If you already have a -80 and only plan to use Dry Ice for flash freezing, there are some reusable alternatives including cooling down alternative materials in a -80 such as aquarium pebble gravel which can be bought at Petco for just 93 cents a pound. Which brings us to our next level of cooling…
Freezers (193 K / -80 C)
The main recommendation we have, is don’t get a Freezer from Thermo Fisher.

Panasonic/Sanyo is highly recommended, though not particularly cheap. I cannot stress enough however, that your going to lose a lot more money and time on dealing with -80 Freezer problems. This simply isn’t a good place to skimp.
If the freezer doesn’t come with an auto-call or email system in place, you’ll want to rig one up again. Just make sure your hardware can withstand the cold.
Cryogenic Freezers & Liquid Nitrogen (77 K / -196 C)
Liquid nitrogen will cost around $1 / liter, often less. In a 6 liter dewar, you can expect half a liter to boil off each day. In theory, if for some reason you don’t have access to it, you can just produce your own liquid nitrogen.
If you are using liquid nitrogen for flash freezing, you might consider some reusable alternatives for flash freezing instead.
If you are using liquid nitrogen for storage, than it’s another matter. A dewar meant for holding samples in liquid nitrogen is called a cryogenic freezer. Cells or Cryo-EM samples often need a cryogenic freezer. Collectively here at LabOnTheCheap we’ve only worked with two cryogenic freezers, none of us remember the brand names, one was an auto-fill, the other was a manual fill, and both sucked.
Advice? Suggestions? Used a cheap cryogenic freezer you can recommend? Email us at LabOnTheCheap@gmail.com
Thanks to Dr. Bryan Kaye for information regarding refrigeration.